
What Is My DNS?
Every time you visit a website, your device relies on the Domain Name System (DNS) to translate human-friendly domain names (like example.com) into IP addresses that computers understand. By default, most people use the DNS servers provided by their internet service provider (ISP), but often, these are not the best options regarding speed, security, and privacy. I have even seen cases where ISP DNS providers inject ads and redirect to their own search engines.
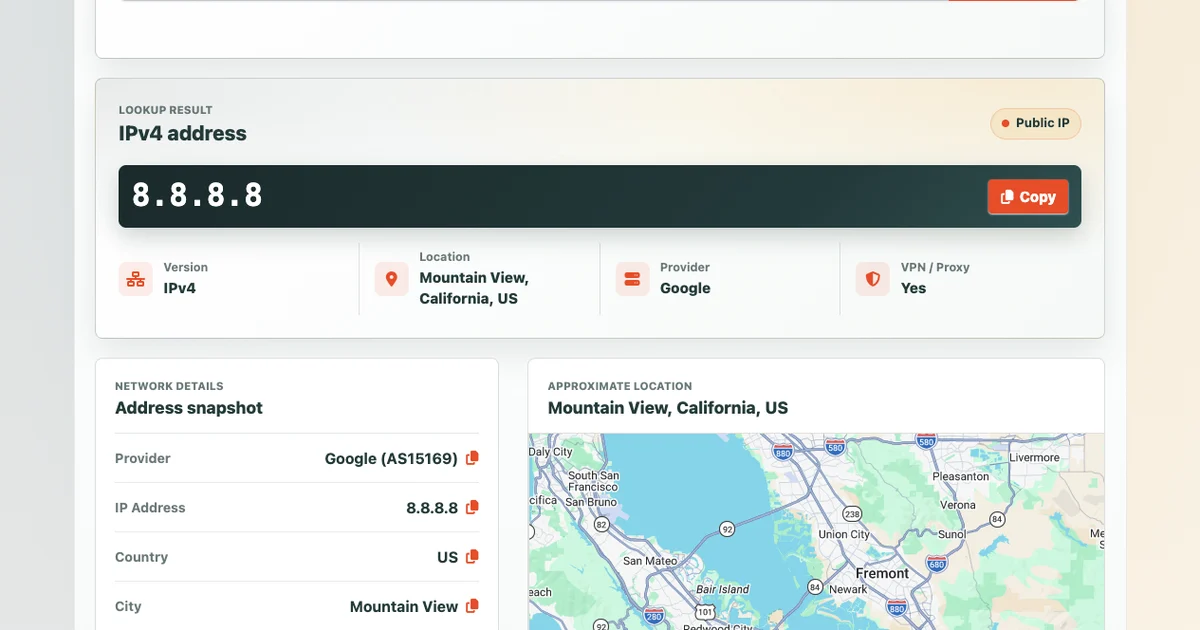
I recommend switching to a third-party DNS provider such as Google Public DNS (8.8.8.8, 8.8.4.4) or Cloudflare DNS (1.1.1.1, 1.0.0.1). I tend to go with Cloudflare because they are the leader in speed and offer additional malware protection.
- Faster Browsing: Google and Cloudflare optimize their DNS servers for low latency, helping websites load quickly.
- Improved Security: Cloudflare's (1.1.1.2, 1.0.0.2) block phishing, malware, and DNS spoofing attacks.
- Better Privacy: Unlike many ISPs that log and sell your browsing data, Cloudflare and Google have stricter policies regarding user privacy.
- Reliability: With global networks and redundancy, they offer better uptime than many ISP-provided DNS servers.
How to find your DNS server on Windows
- Click on the Windows icon in the bottom left to open the Start menu.
- Click on “Settings.”
- Select “Network & internet.” Next to the network’s name, click on “Properties”.
- You’ll see the DNS server in the window below.
How to find your DNS server on Mac
- Click on the Apple menu.
- Open “System settings” and click “Network.”
- Click on your network service and tap on “Details.”
- Click “DNS.” You’ll see the DNS server in this window.
How to find your DNS server on iOS
- Open “Settings.”
- Tap on “Wi-Fi.”
- Tap on the “i” next to the Wi-Fi connection you’re currently connected to.
- Scroll down. You’ll see the DNS server information in the DHCP section.
How to find your DNS server on Android
- Open “Settings.”
- Tap “Wireless & networks” or “Network & internet.”
- Tap on “Wi-Fi.”
- Tap and hold on to the Wi-Fi connection you’re currently connected to.
- Tap on “Advanced” to see the DNS server information.
Steps to Change DNS on Windows 10 & 11
- Click on the Start menu and open Settings.
- Click on Network & Internet.
- Click on Wi-Fi (if using wireless) or Ethernet (if using a wired connection).
- Click on Edit under IP settings.
- Select Manual and turn on IPv4 (or IPv6 if needed).
- Enter the preferred DNS:
- Cloudflare:
1.1.1.1,1.0.0.1 - Google:
8.8.8.8,8.8.4.4
- Cloudflare:
- Click Save.
Steps to Change DNS on macOS
- Click on the Apple menu → System Settings.
- Click on Network.
- Select your Wi-Fi network and click Details.
- Go to the DNS tab.
- Click + (Add Server) and enter the preferred DNS:
- Cloudflare:
1.1.1.1,1.0.0.1 - Google:
8.8.8.8,8.8.4.4
- Cloudflare:
- Click OK, then Apply.
Steps to Change DNS on iOS(iPhone/iPad)
- Open Settings → Tap on Wi-Fi.
- Tap the (i) next to your connected Wi-Fi network.
- Scroll down to Configure DNS.
- Select Manual and tap Add Server.
- Enter the DNS values:
- Cloudflare:
1.1.1.1,1.0.0.1 - Google:
8.8.8.8,8.8.4.4
- Cloudflare:
- Tap Save.
Note: iOS does not allow DNS changes for mobile data (LTE/5G).
Steps to Change DNS on Android (for Wi-Fi only)
- Open Settings.
- Tap Wi-Fi.
- Long-press on your connected Wi-Fi network, then tap Modify network.
- Tap Advanced options.
- Change IP settings to Static.
- Scroll down and enter the preferred DNS servers:
- Cloudflare:
1.1.1.1,1.0.0.1 - Google:
8.8.8.8,8.8.4.4
- Cloudflare:
- Tap Save.
Change DNS on Android (for All Networks Using Private DNS)
- Open Settings.
- Go to Network & Internet → Private DNS.
- Select Private DNS provider hostname.
- Enter:
- Cloudflare:
1dot1dot1dot1.cloudflare-dns.com - Google:
dns.google
- Cloudflare:
- Tap Save.
Steps to Change DNS on a Router (Affects All Connected Devices)
I always recommend updating your home router's DNS so that all devices connected do not have to be manually updated. This ensures your home devices are fast and safe from malware. Settings your router's DNS is a little more technical, but you do not have to think about DNS once it's done.
- Open a web browser and enter your router's IP address (often
192.168.1.1or192.168.0.1). - Log in with your router’s admin username & password.
- Find the DNS Settings (usually under LAN, DHCP, or Internet settings).
- Enter the preferred DNS servers:
- Cloudflare:
1.1.1.1,1.0.0.1 - Google:
8.8.8.8,8.8.4.4
- Cloudflare:
- Click Save/Apply and restart the router if necessary.
Related Posts


Tim Leland
Useful Tools
Ready to improve how you manage links?
T.LY URL Shortener makes long links look cleaner and easier to share! Add your own Custom Domains to personalize your brand. Create Smart Links to customize a URL's destination. Generate QR codes to promote your business.
Sign Up for Free


